
Hi there! Since we’re all pretty much locked at home and many of us have some extra time to invest in fun projects, I thought I could share a small guide to the ancient (not really) art (and science) of minimapping.
If you are familiar with this project you already know that making a minimap is a way to create an alternative way to experience a city, highlighting the places, things, activities, sceneries, that are special to you in any way you want, and creating a more personal connection with the recipients of your map. If you love artisanal beer or secret gardens or strolling around for hours, you can create a minimap and share your expertise with other beer lovers, garden appreciators or determined strollers.
These times are kind of weird for all of us, but they are specially hard for small independent business owners, so it could be nice if we all make a minimap to highlight all of those local businesses that we would love to go back to once we’re allowed to be out again! Restaurants you’ve missed, bookstores that always have exactly what you love, fruit shops, markets, bars, pet stores, designer shops… there’s a lot to choose from!
If you want to create a nice minimap to collaborate with your favourite local businesses, brilliant! The invitation to get involved is always open. here are seven steps you can follow. It’s super easy and fun and I’m looking forward to see what you have created (:
.
1. Locate the seven places you want to share using Google Maps
Using Google Maps is not mandatory but it helps to keep the minimap somewhat accurate and makes it easier to use and understand… but hey, if you want to make an abstract, cubist, or psychedelic minimap, please, be our guest!
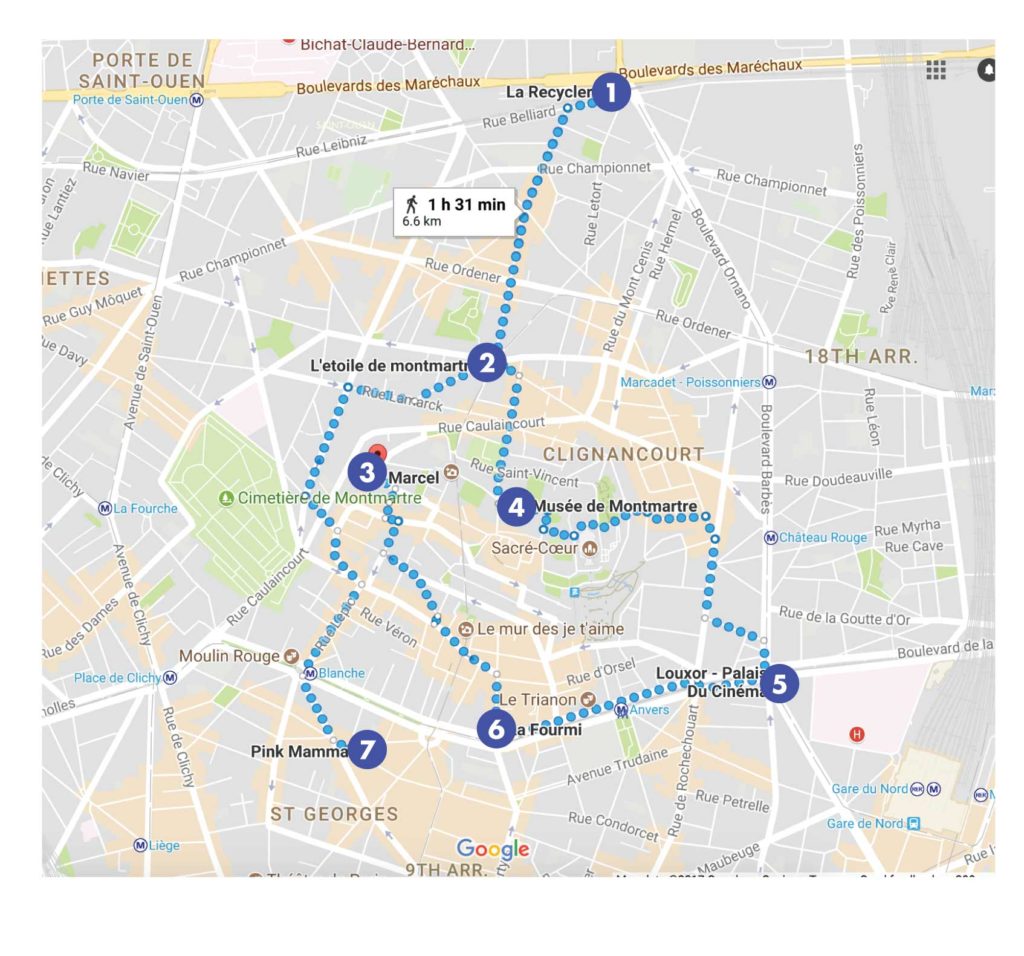
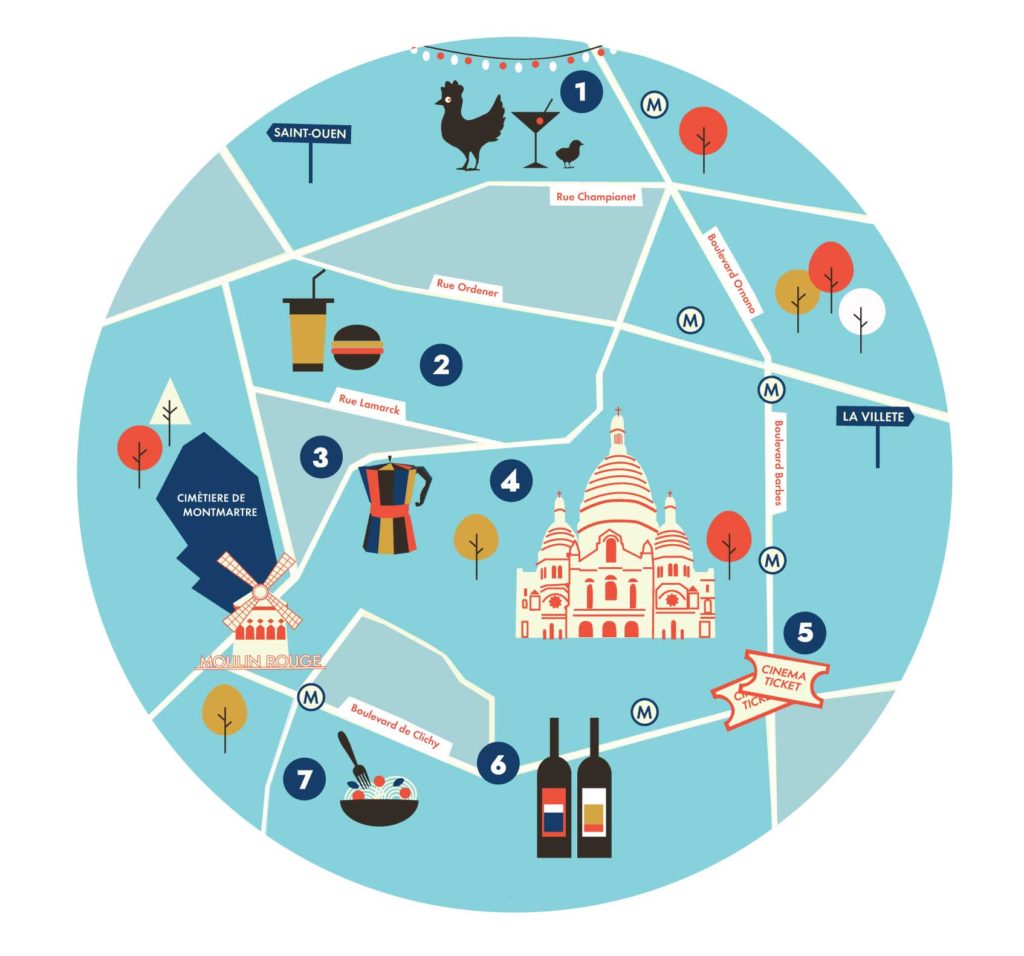
2. Frame the area in a circle
Yes, all minimaps are round! That’s our trademark!

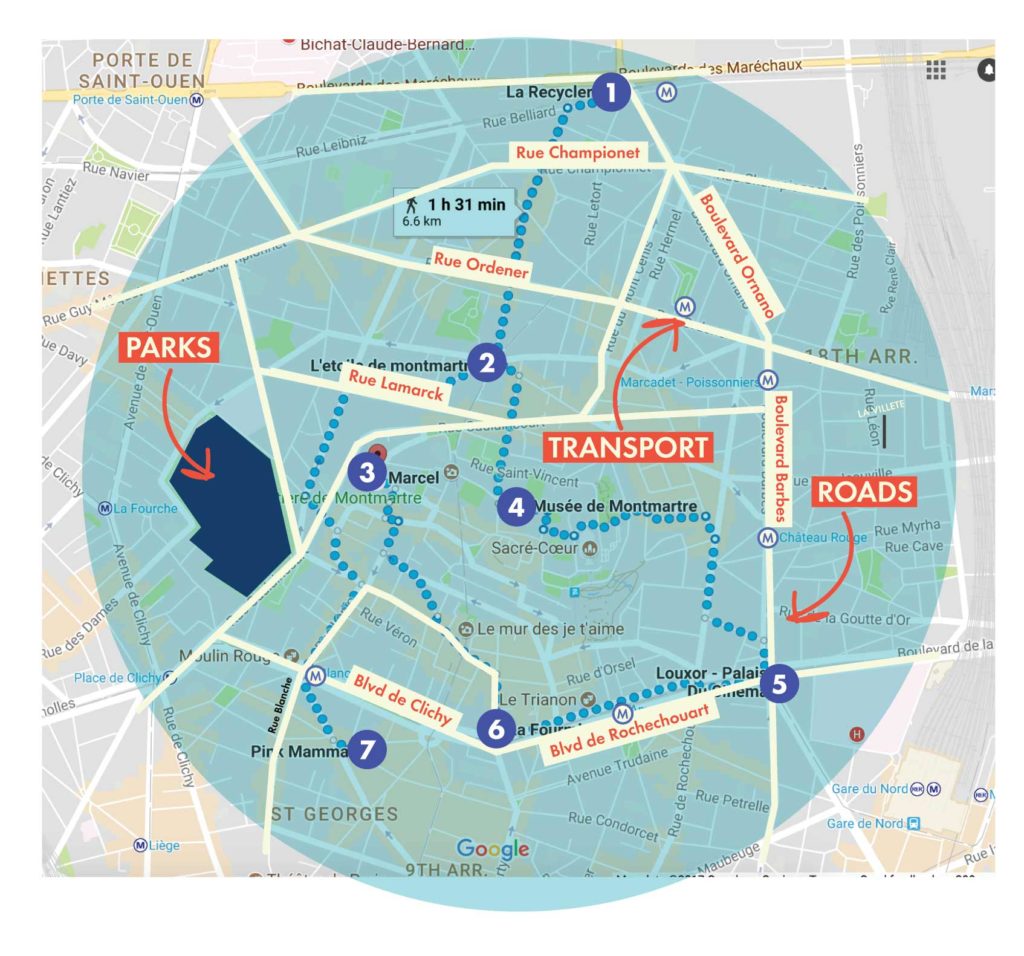
3. Locate the main roads, parks and transportation options
Again, not mandatory but these are references that will help the user of your minimap navigate the area.
4. Choose a colour palette that you like
This is usually one of the hardest steps for me. I usually start by choosing a couple of colours that resonate with the city that I have in my mind, but I keep coming back to this step and tweaking and adjusting hues until I’m absolutely sure the colours I have picked work well together and with the landmarks and icons.

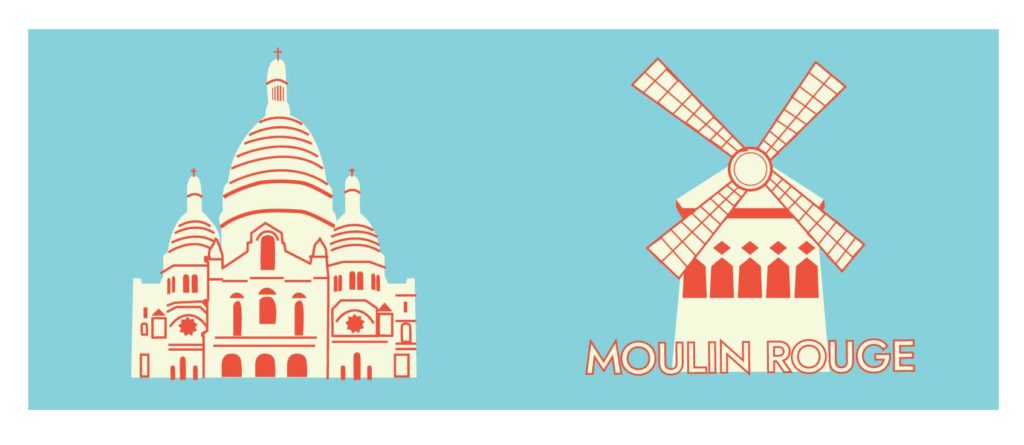
5. Draw landmarks that give your map its own identity
Iconic landmarks are usually what make people easily recognise the part of town you are showcasing in your minimap. In this example this is a Paris minimap and we are on the Sacre Coeur area, so the two bigger landmarks here are Sacre Coeur and the Moulin Rouge (:
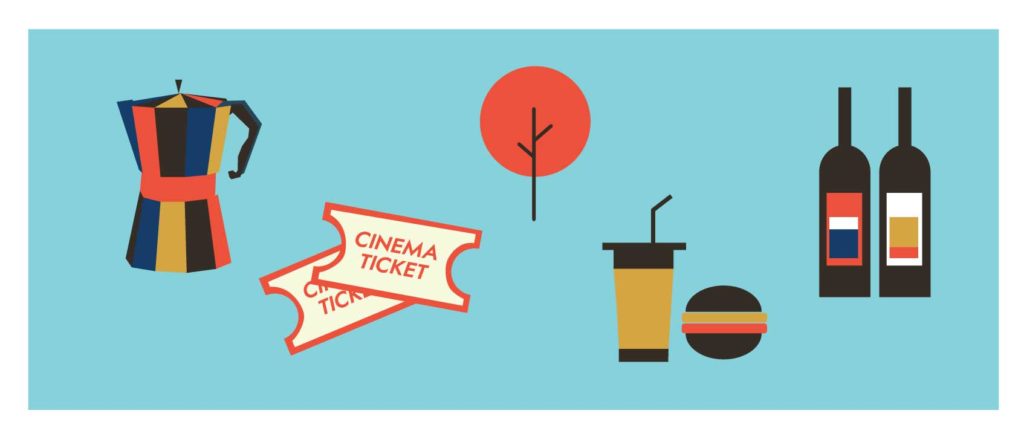
6. Draw icons for each of the chosen places
As with the landmarks it is easier to recognise what is special about the places you are featuring by adding a simple icon. If you want you could also add the name of the place next to the number, or instead of icons you could play with fonts and make it a typographic map.
7. Put everything together!
When putting together all the elements you created for the map you should aim for a balanced composition. I recommend that you take this into account from the very beginning when choosing the seven places.
This is a very simple map created entirely in Illustrator, if you are into Photoshop you could also add textures or other effects.
You made it! You curated your first route and illustrated your first minimap!
Share your work with us by using the hashtag #superminimaps
.